The transformation of fresh, plump blackberries into a luscious, homemade jam is a process that captures the very essence of summer. As the berries simmer with sugar and a touch of lemon juice, their deep, rich color intensifies, filling the kitchen with the irresistible aroma of ripe fruit. This blackberry jam is a labor of love, requiring patience and care, but the reward is a spread that bursts with flavor—sweet, tart, and utterly perfect on a slice of warm, buttered toast or a flaky scone. Each jar is a testament to the joy of preserving summer’s bounty, to be savored long after the season has passed.
Ingredients:
- 4 cups fresh blackberries (about 2 pints)
- 4 cups granulated sugar
- 2 tablespoons lemon juice
- 1 package (1.75 oz) fruit pectin (optional, for a thicker jam)
- ½ teaspoon butter (optional, to reduce foaming)
Instructions:
- Prepare the Blackberries:
- Begin by washing the fresh blackberries thoroughly under cold running water. Remove any stems, leaves, or debris. Drain them well.
- Using a large bowl, crush the blackberries with a potato masher or the back of a spoon until you achieve a slightly chunky consistency. If you prefer a smoother jam, you can use a food processor or blender, but be careful not to puree them completely—you want some texture in your jam.
- Cook the Jam:
- In a large, heavy-bottomed pot, combine the crushed blackberries, sugar, and lemon juice. If you’re using fruit pectin for a thicker jam, mix it in at this point.
- Place the pot over medium-high heat and stir the mixture constantly until the sugar dissolves and the mixture begins to boil.
- Once boiling, reduce the heat to medium and continue to cook, stirring frequently. The jam will start to thicken as it cooks, which typically takes about 20-25 minutes. To check if your jam has reached the right consistency, perform the “wrinkle test”: place a small spoonful of jam on a chilled plate, let it sit for a minute, and then push it with your finger. If it wrinkles slightly and holds its shape, your jam is ready.
- Optional Step – Reduce Foaming:
- If you notice any foam forming on the surface of the jam while it cooks, you can add a small amount of butter (about ½ teaspoon) to reduce it. This step is optional but helps achieve a clearer jam.
- Sterilize the Jars:
- While your jam is cooking, sterilize your jars and lids by boiling them in water for at least 10 minutes. This is a crucial step to prevent bacteria from spoiling your jam.
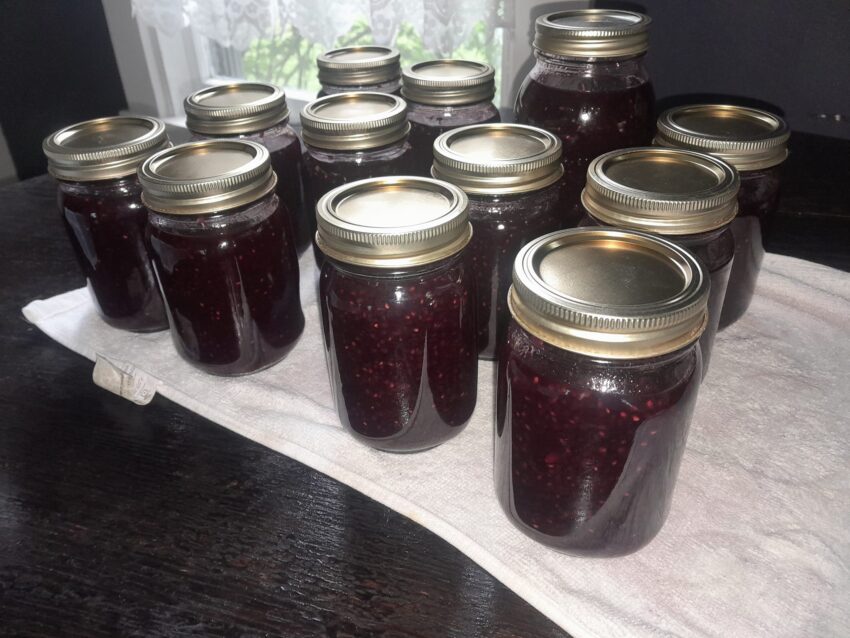
- Jar the Jam:
- Once the jam has reached the desired consistency, carefully ladle the hot jam into the sterilized jars, leaving about ¼ inch of headspace at the top. Wipe the rims of the jars with a clean, damp cloth to ensure a good seal, then place the lids on top and screw the bands on just until snug.
- Process the Jars:
- To ensure your jam is properly sealed and will be shelf-stable, process the jars in a boiling water bath. Place the filled jars into a large pot of boiling water, making sure they are fully submerged. Boil for 10 minutes.
- After processing, carefully remove the jars from the water and place them on a towel or cooling rack. Let them sit undisturbed for 24 hours. You should hear the “pop” of the lids sealing as they cool.
- Check the Seals:
- After 24 hours, check the seals by pressing down on the center of each lid. If it doesn’t move, the jar is properly sealed. If the lid pops up and down, the seal did not form properly, and the jam should be refrigerated and used within a few weeks.
- Store the Jam:
- Once sealed, store your jars of blackberry jam in a cool, dark place. Properly processed jars will last up to a year. Once opened, refrigerate and use within a few weeks.
